
Getting started with Android Pay is ridiculously easy and follows similar steps that iPhone users may be familiar with. As Android Pay has only become available in the UK today, we thought it wise to give you a brief look at the setup process, which goes a little something like this.
First, check to see if your bank is participating. At the time of writing some still don’t support it, so check the full list first. If you’re on there, grab the Android Pay app. You’ll need to have a compatible Android smartphone and your account settings will need to be correct to ensure that you’re a UK customer. In addition, you’ll need to enable a secure lock screen so that people can’t just pick up your phone and start using it to buy things.

Step 1
Grab the Android Pay app and download it. On some phones this might say “Disabled”, so just set it to “Enabled” within the Google Play store.
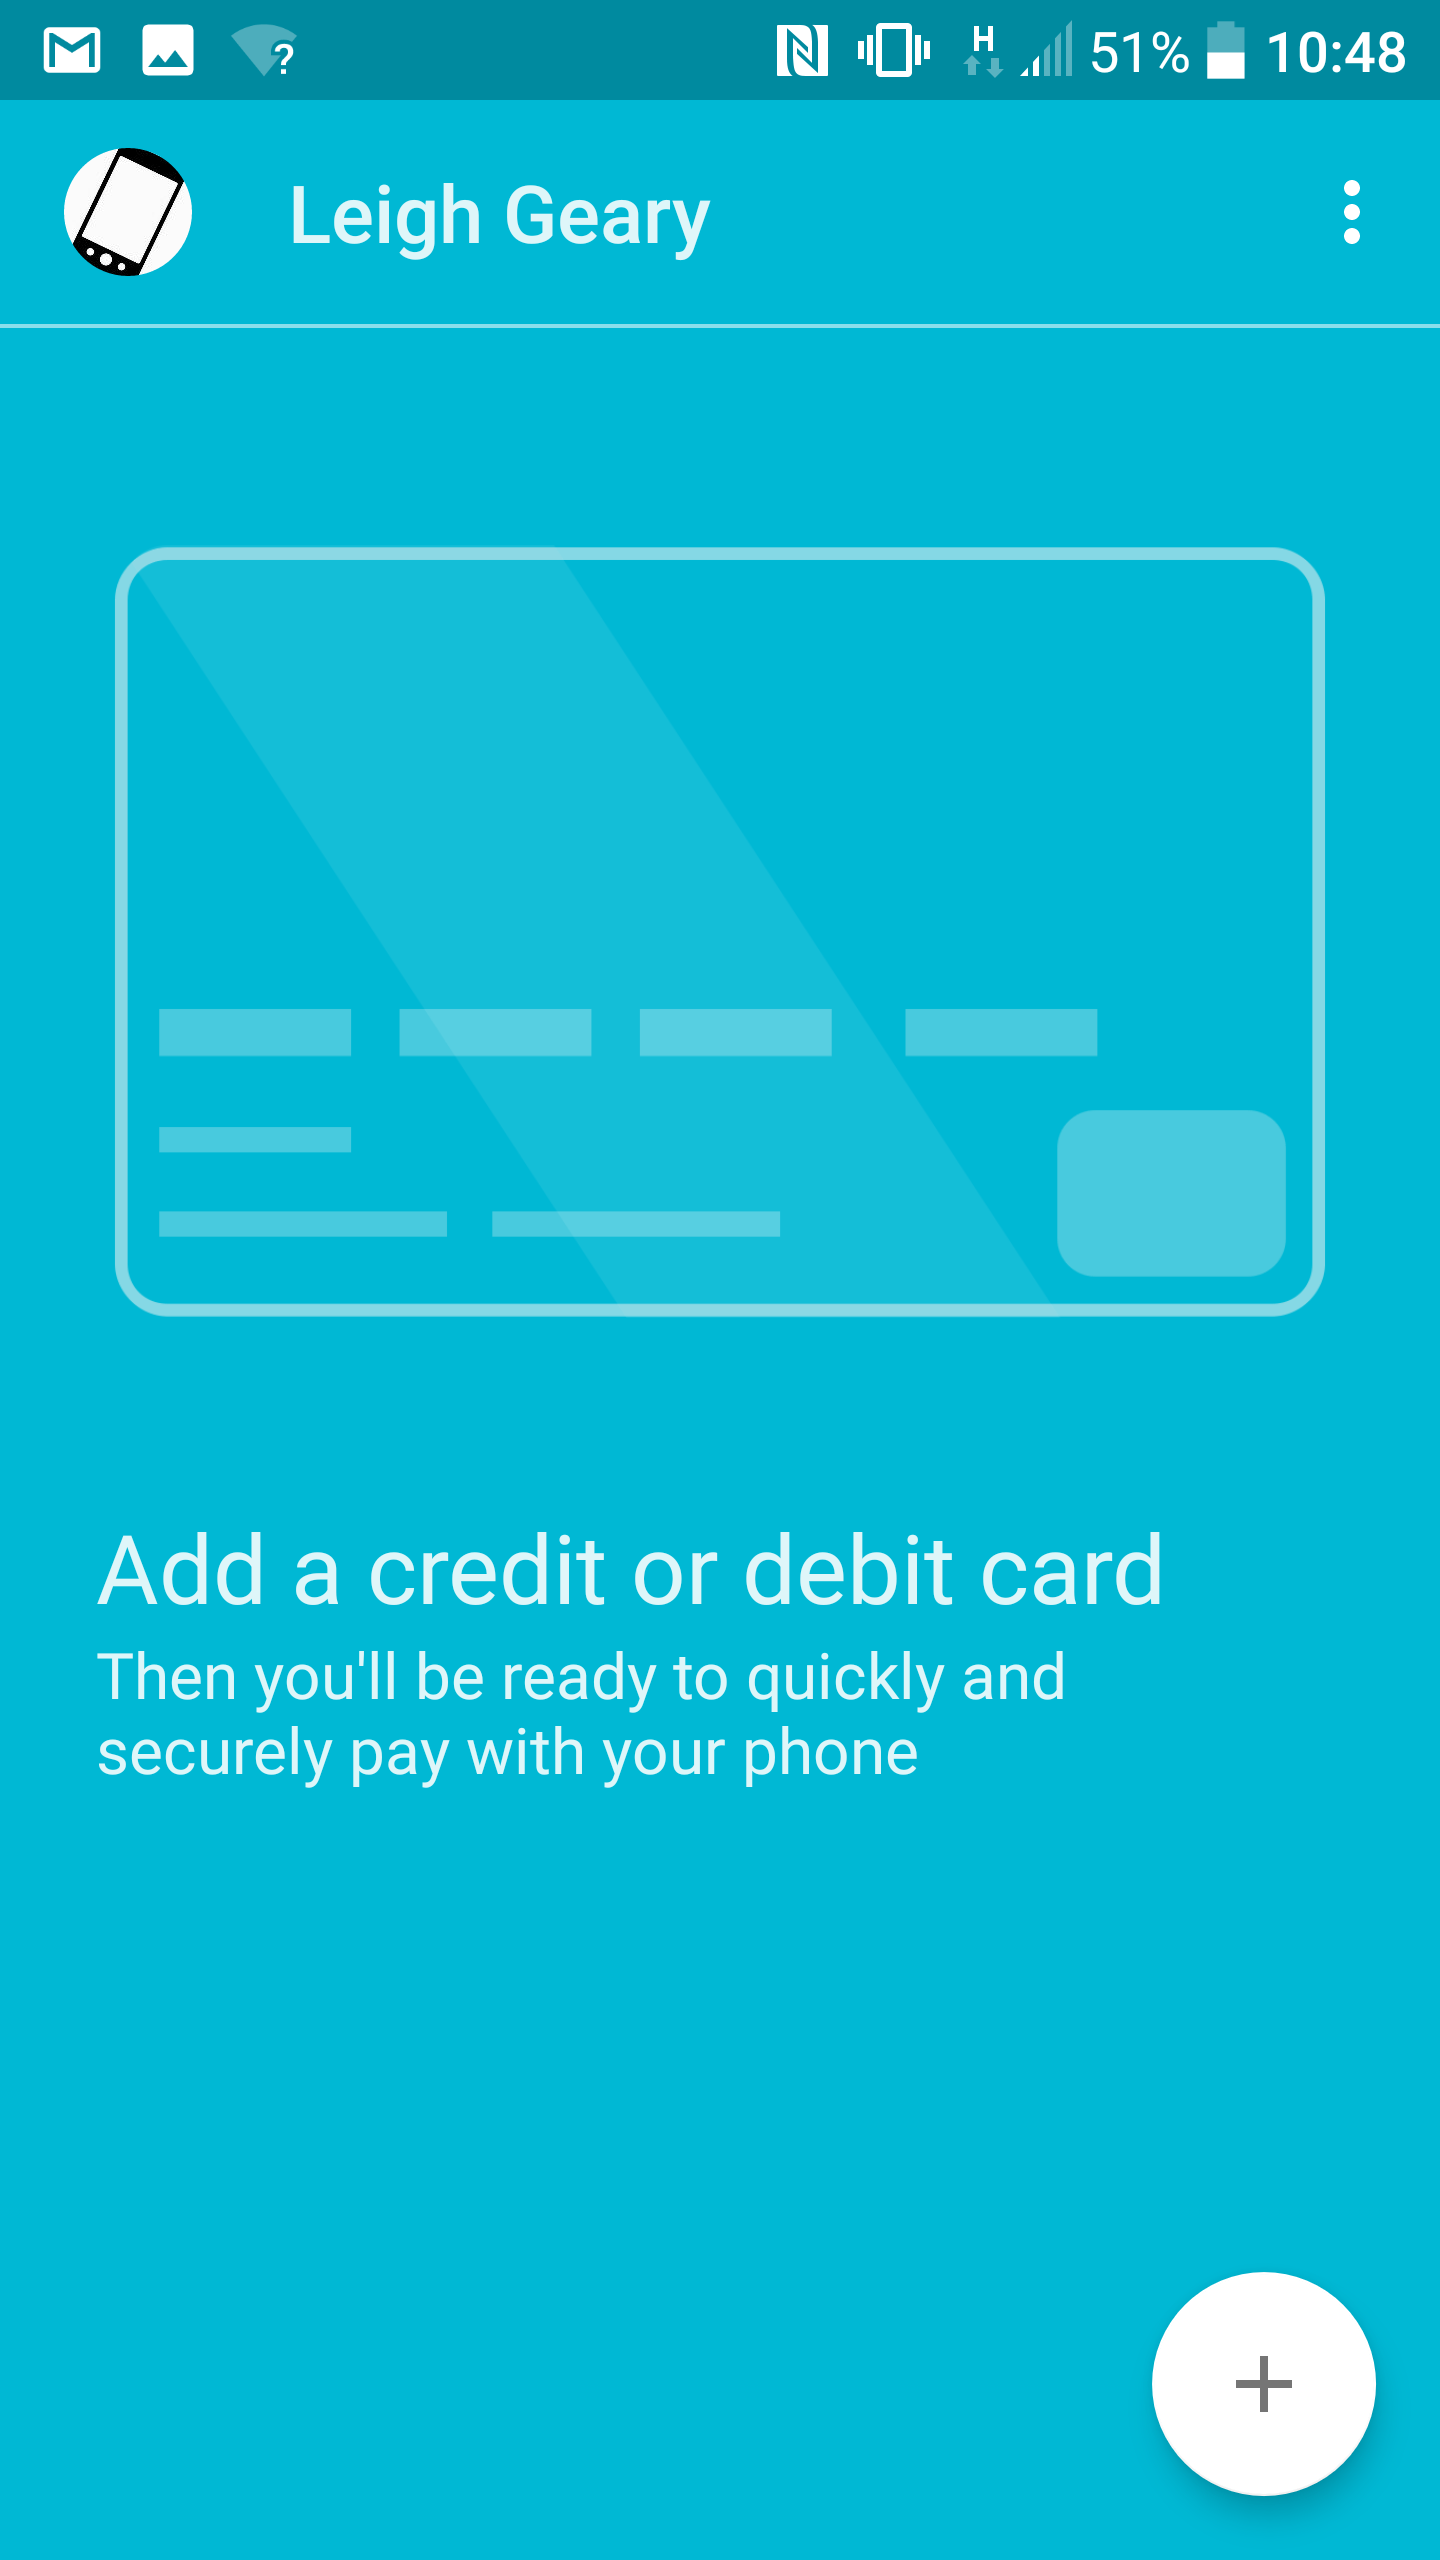
Step 2
Open the app and you’ll be presented with a screen asking whether you’d like to add a credit or debit card. Click “+” and it’ll move onto the next screen.
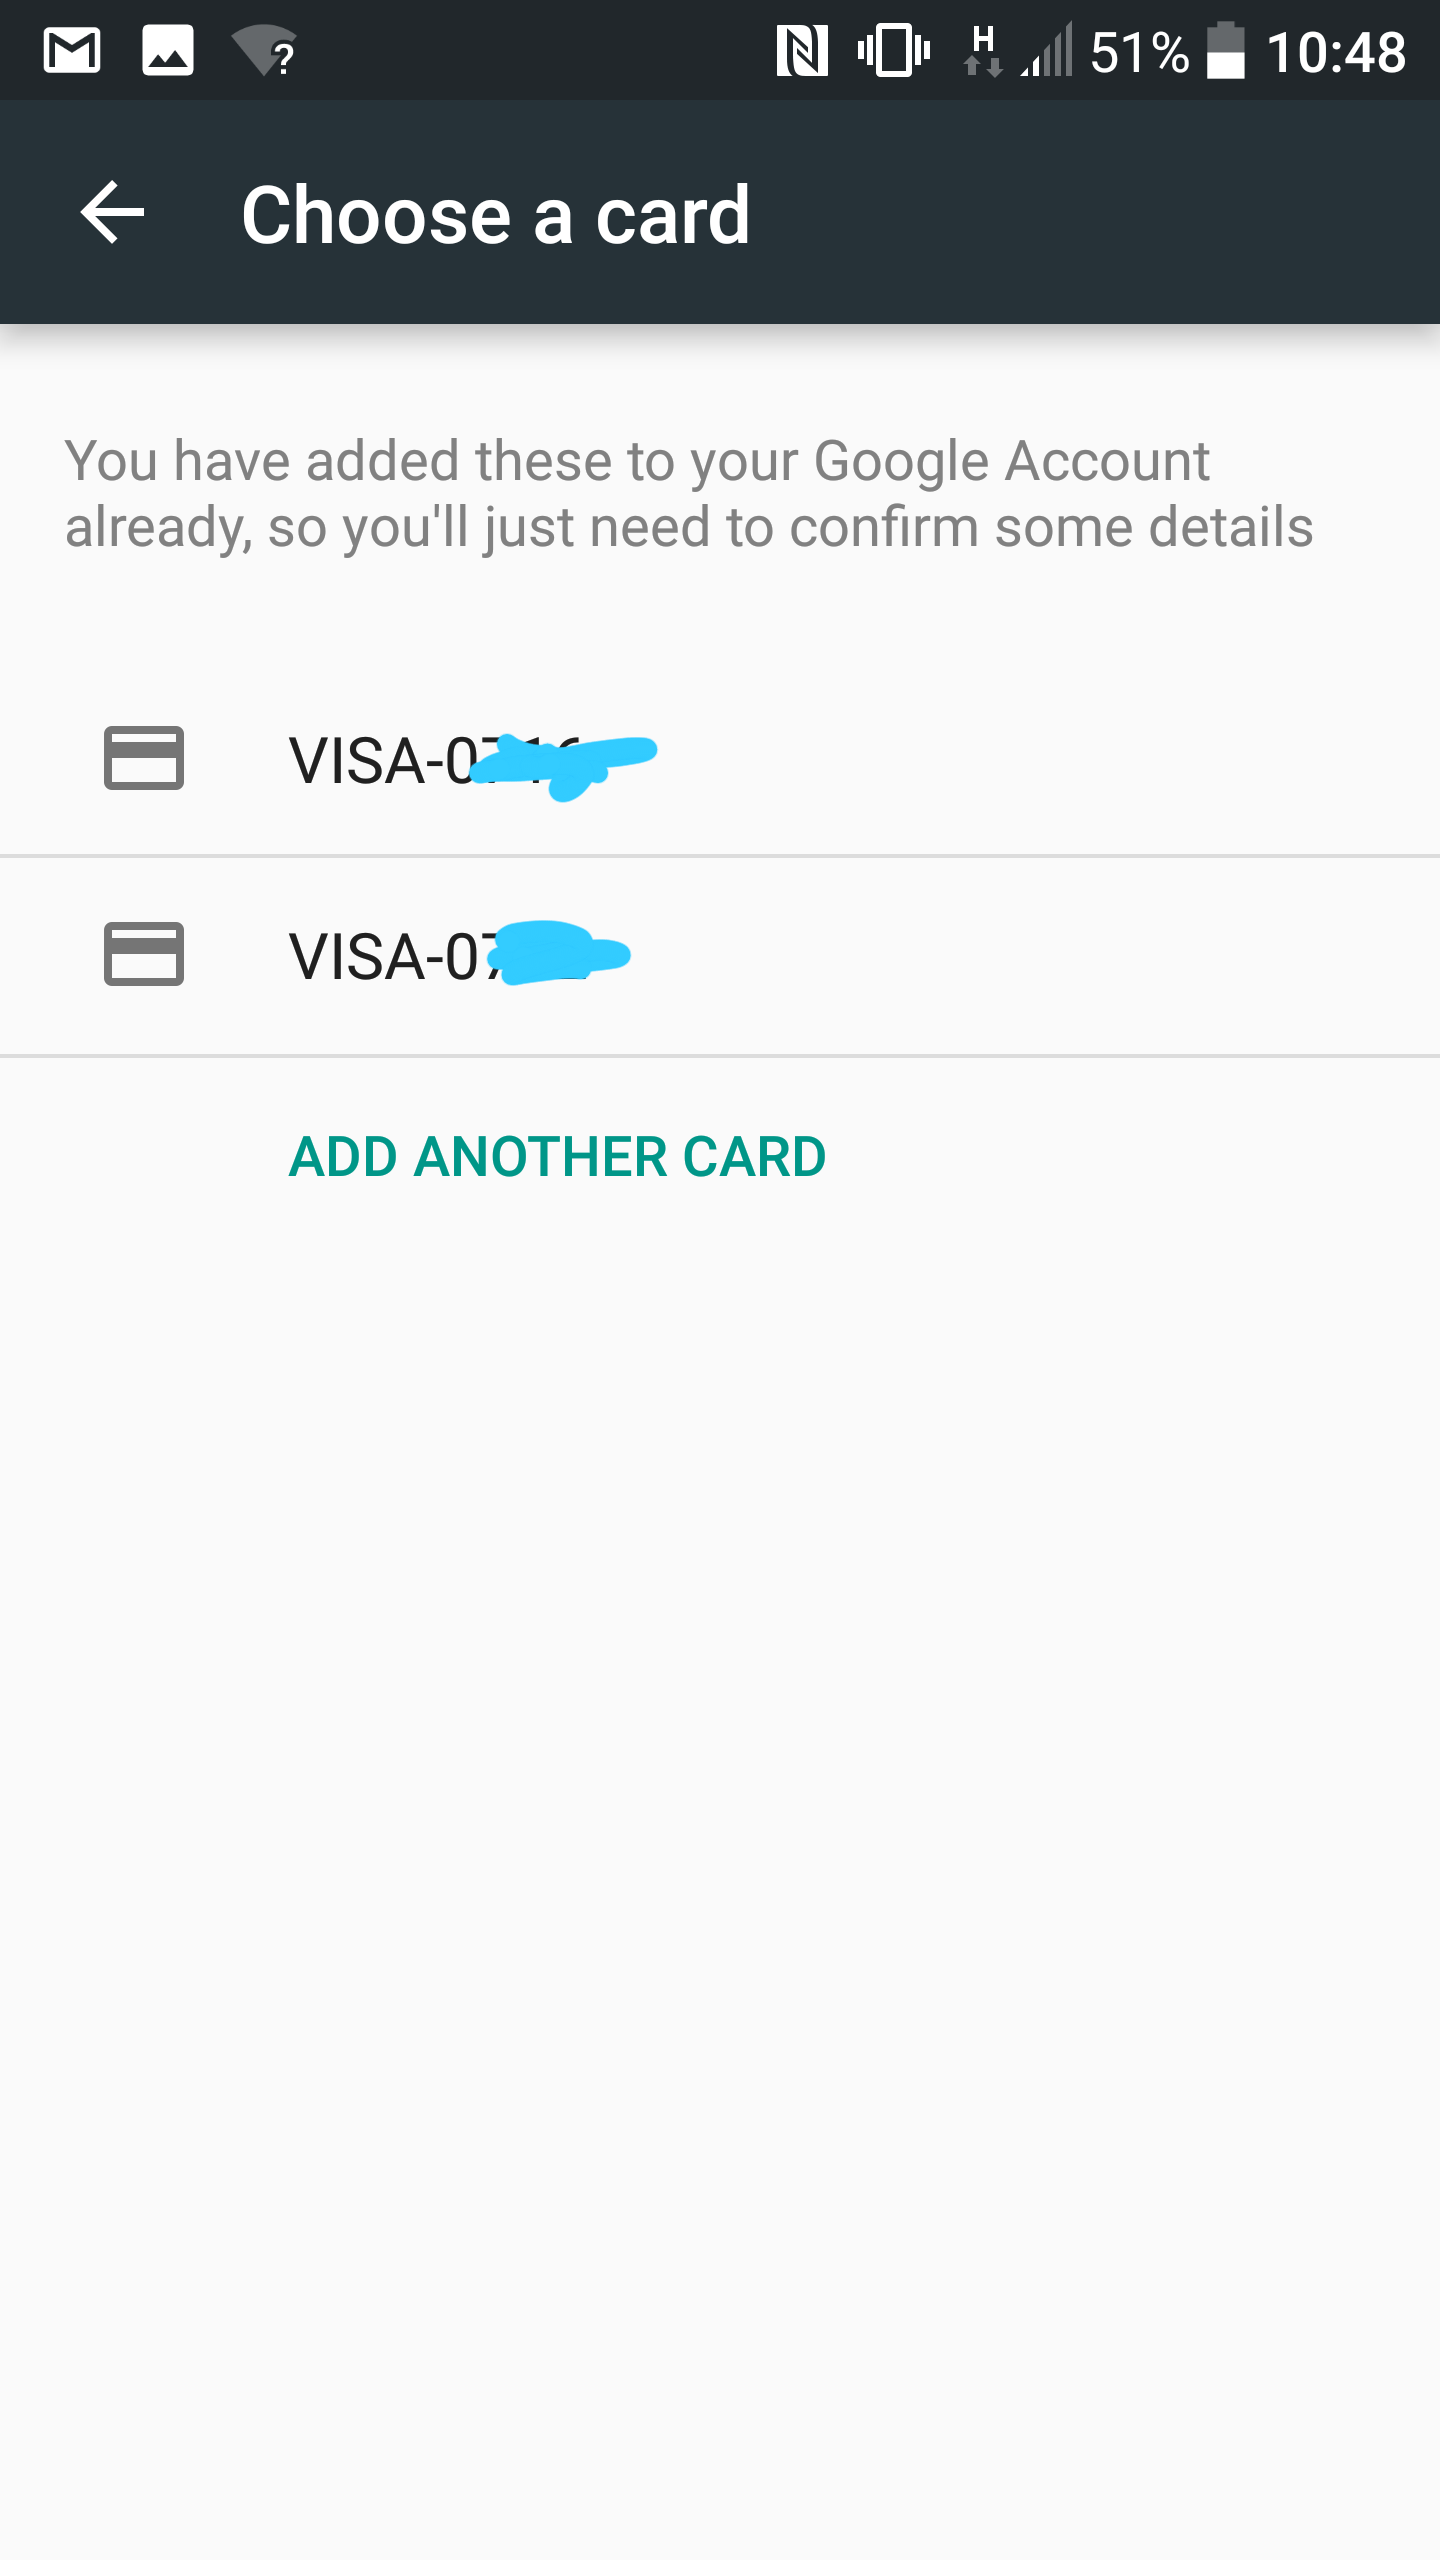
Step 3
If you’ve already setup some payment methods for Google Play, it’ll bring a lot of the card details into a multiple-choice list. Just select the card in question.
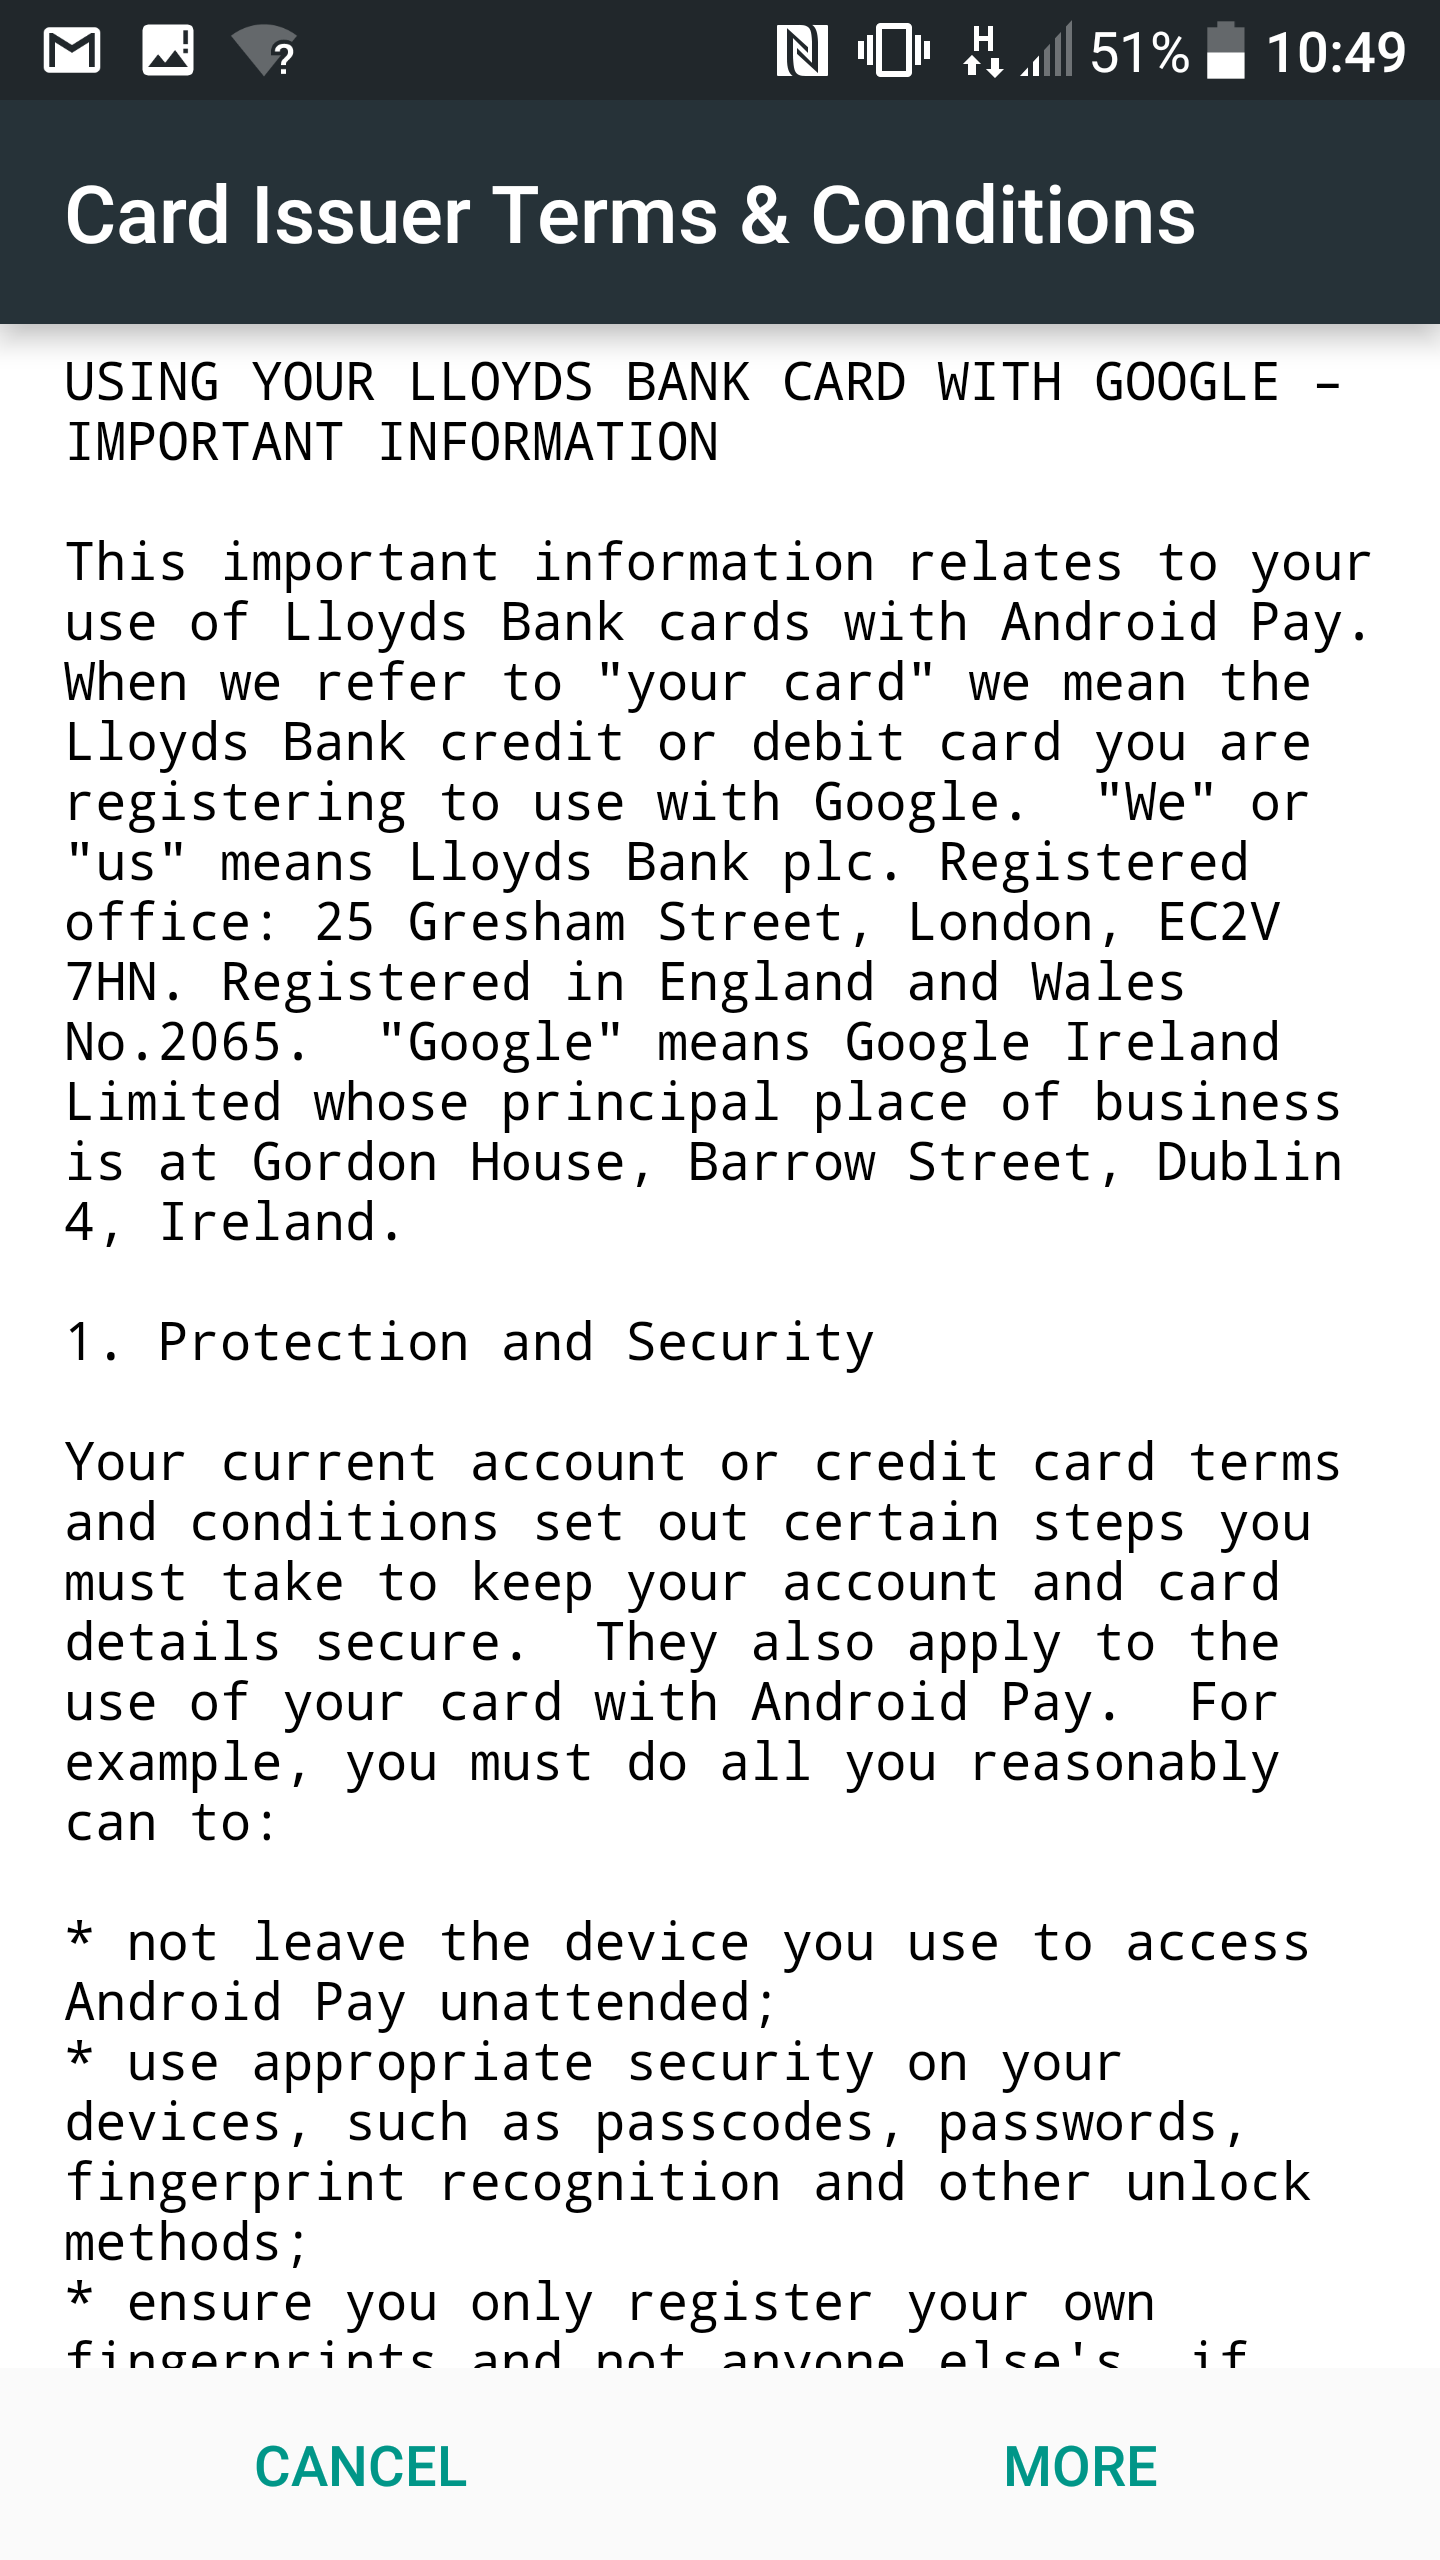
Step 4
Depending on your bank, you’ll receive a very long list of terms and conditions, and then you’ll need to enter the CVV number (the last three digits on the back of your card) to finish the addition of the card.
Step 5
If you haven’t setup a secure screen lock, you’ll be given the option to do that now.

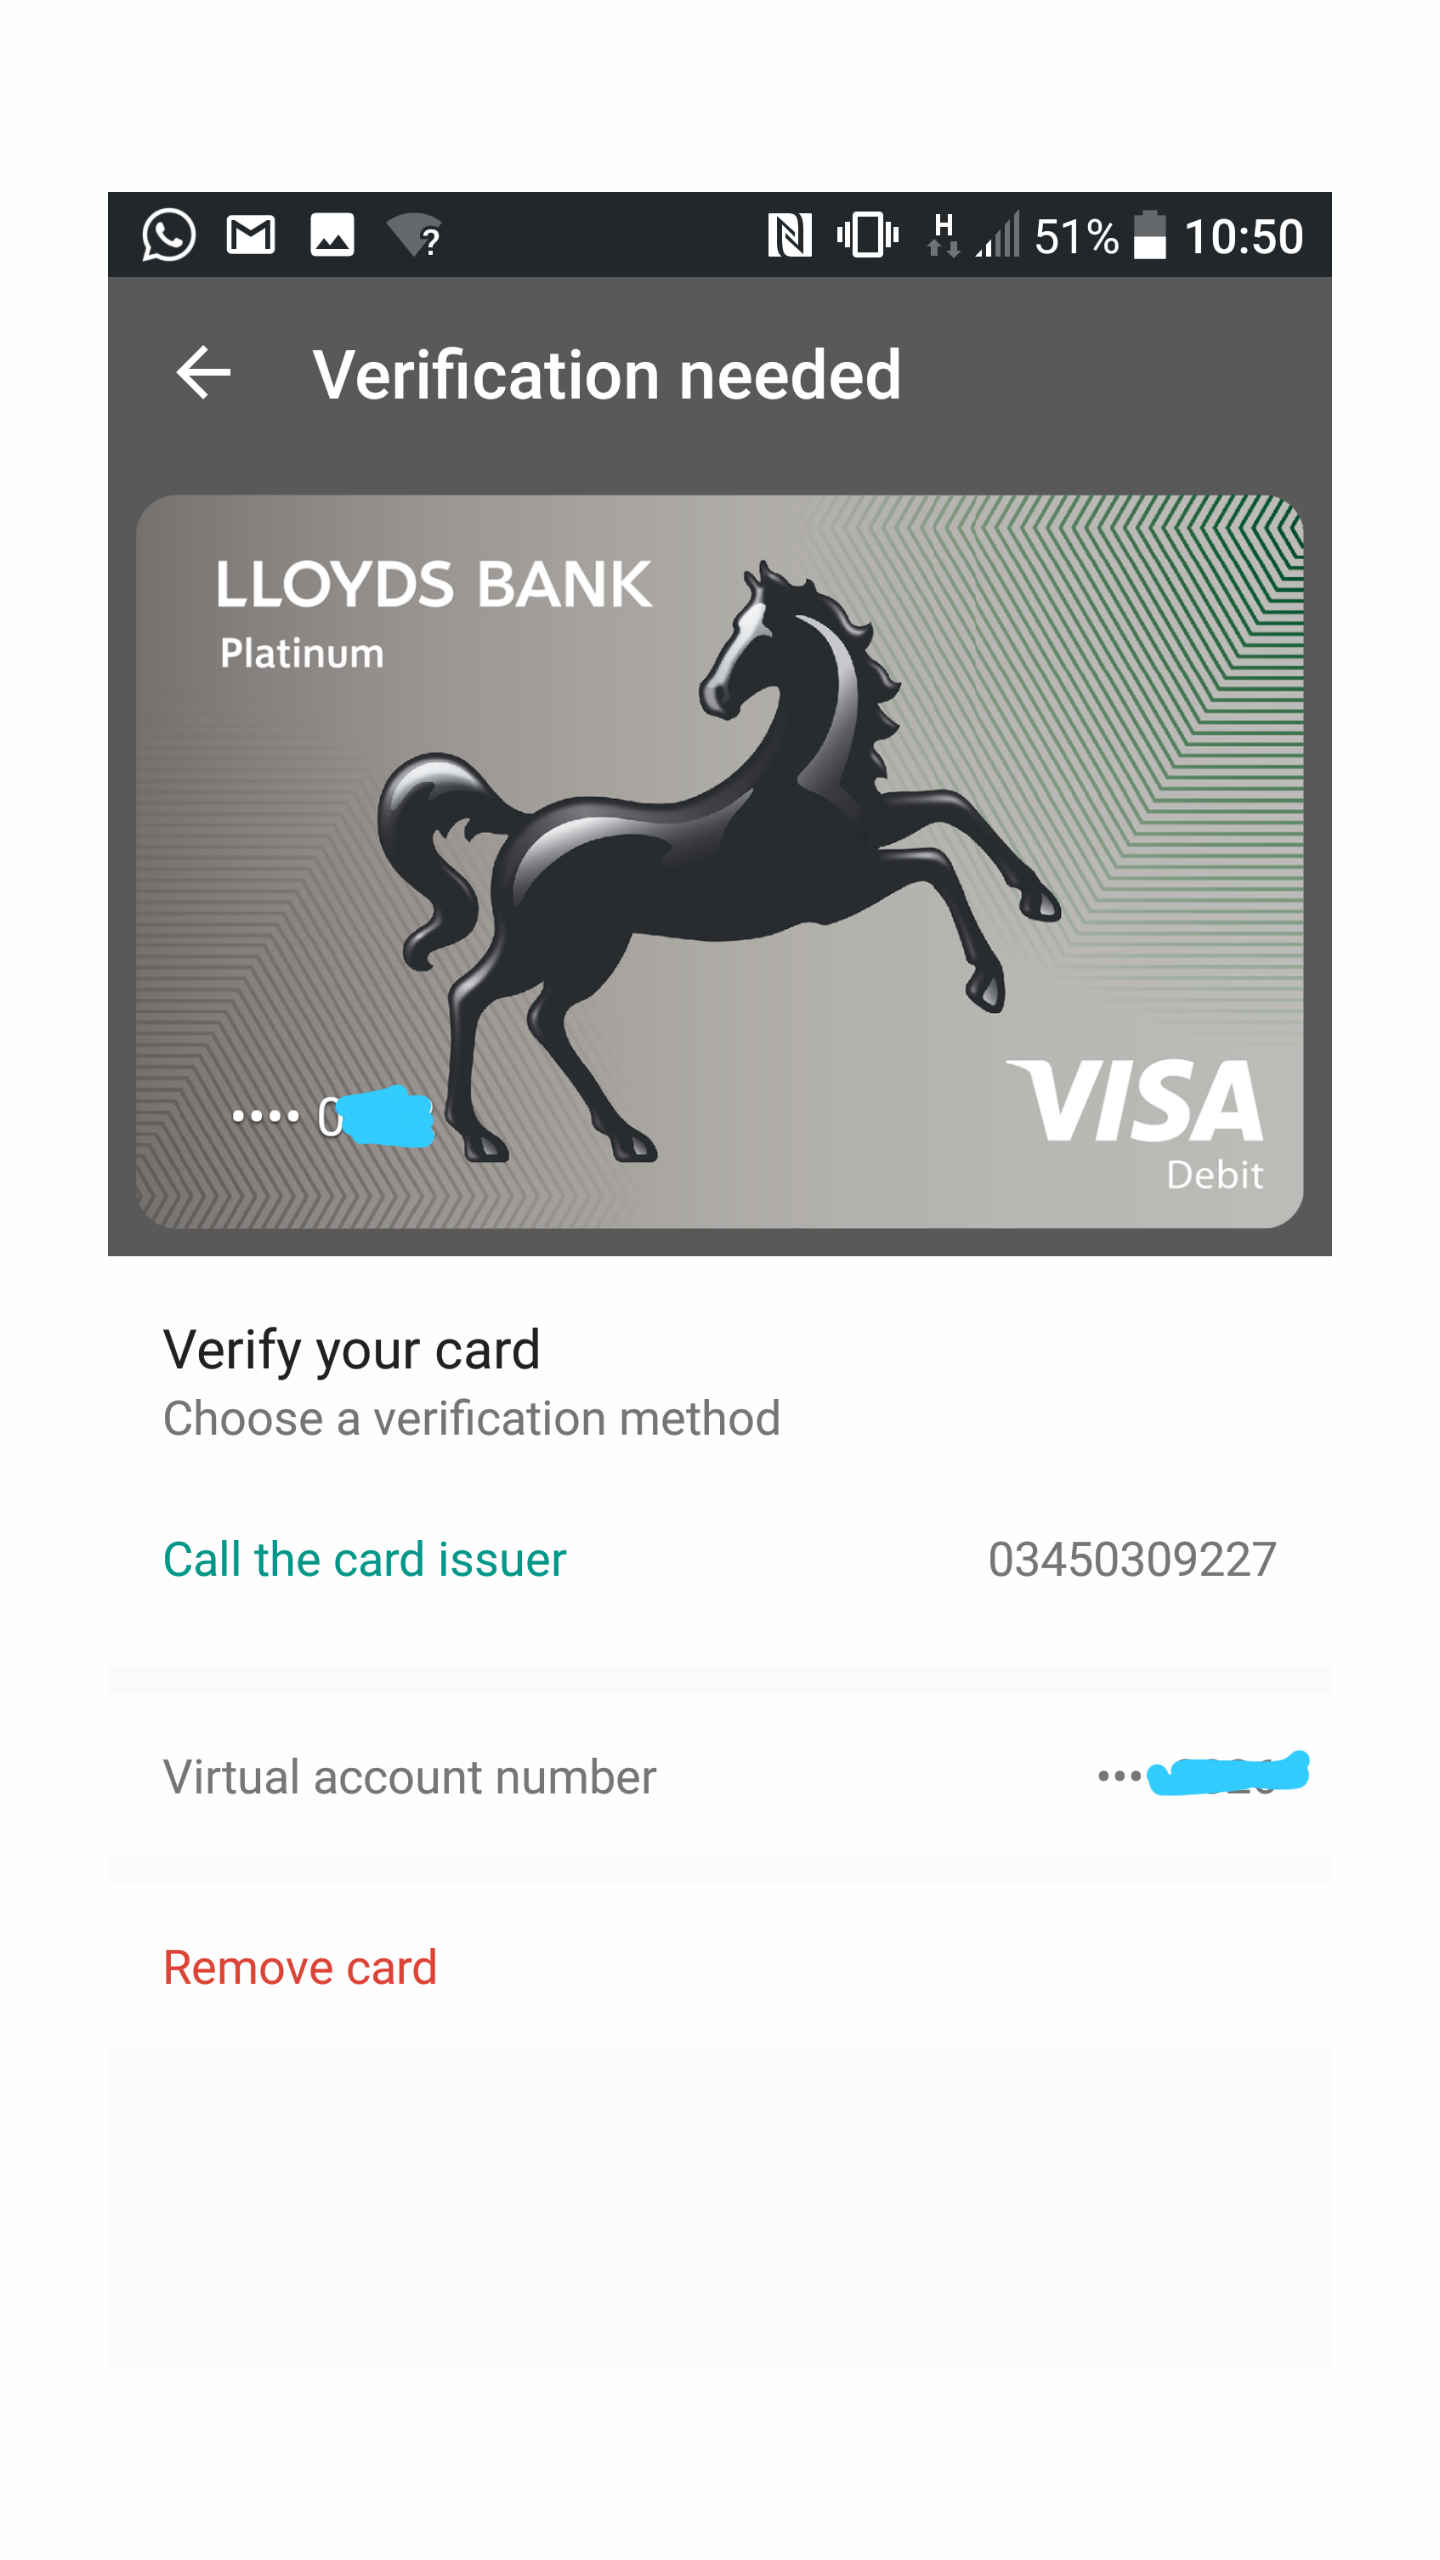
Step 6
Verification with your bank or card issuer is last. For me this required a quick phone call to Lloyds Bank, but it was a very quick process in which they ran through some security questions and then activated my card. Once this was all done then I used the phone to pay for some chocolate from a vending machine. All done! 🙂