
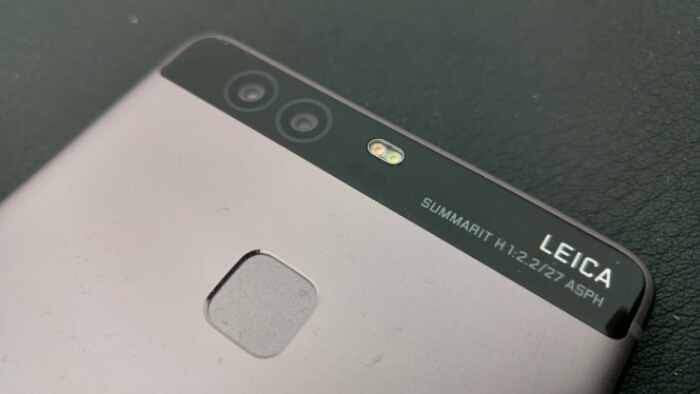
Yesterday we reported live from the Huawei #OO launch and it quickly became apparent that the “double OO” referred to the double lens setup of the new Leica camera at the rear of the P9 and the P9 Plus.
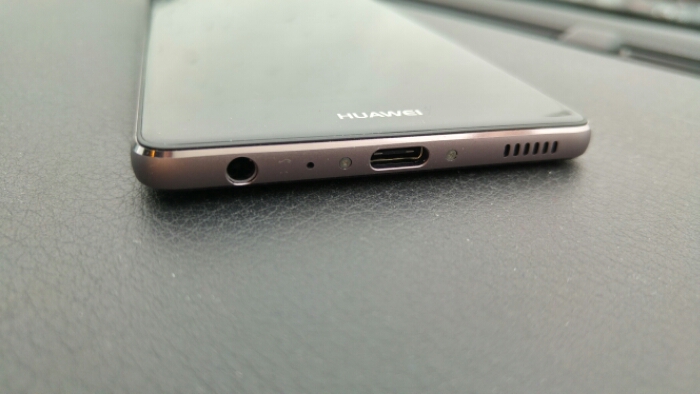
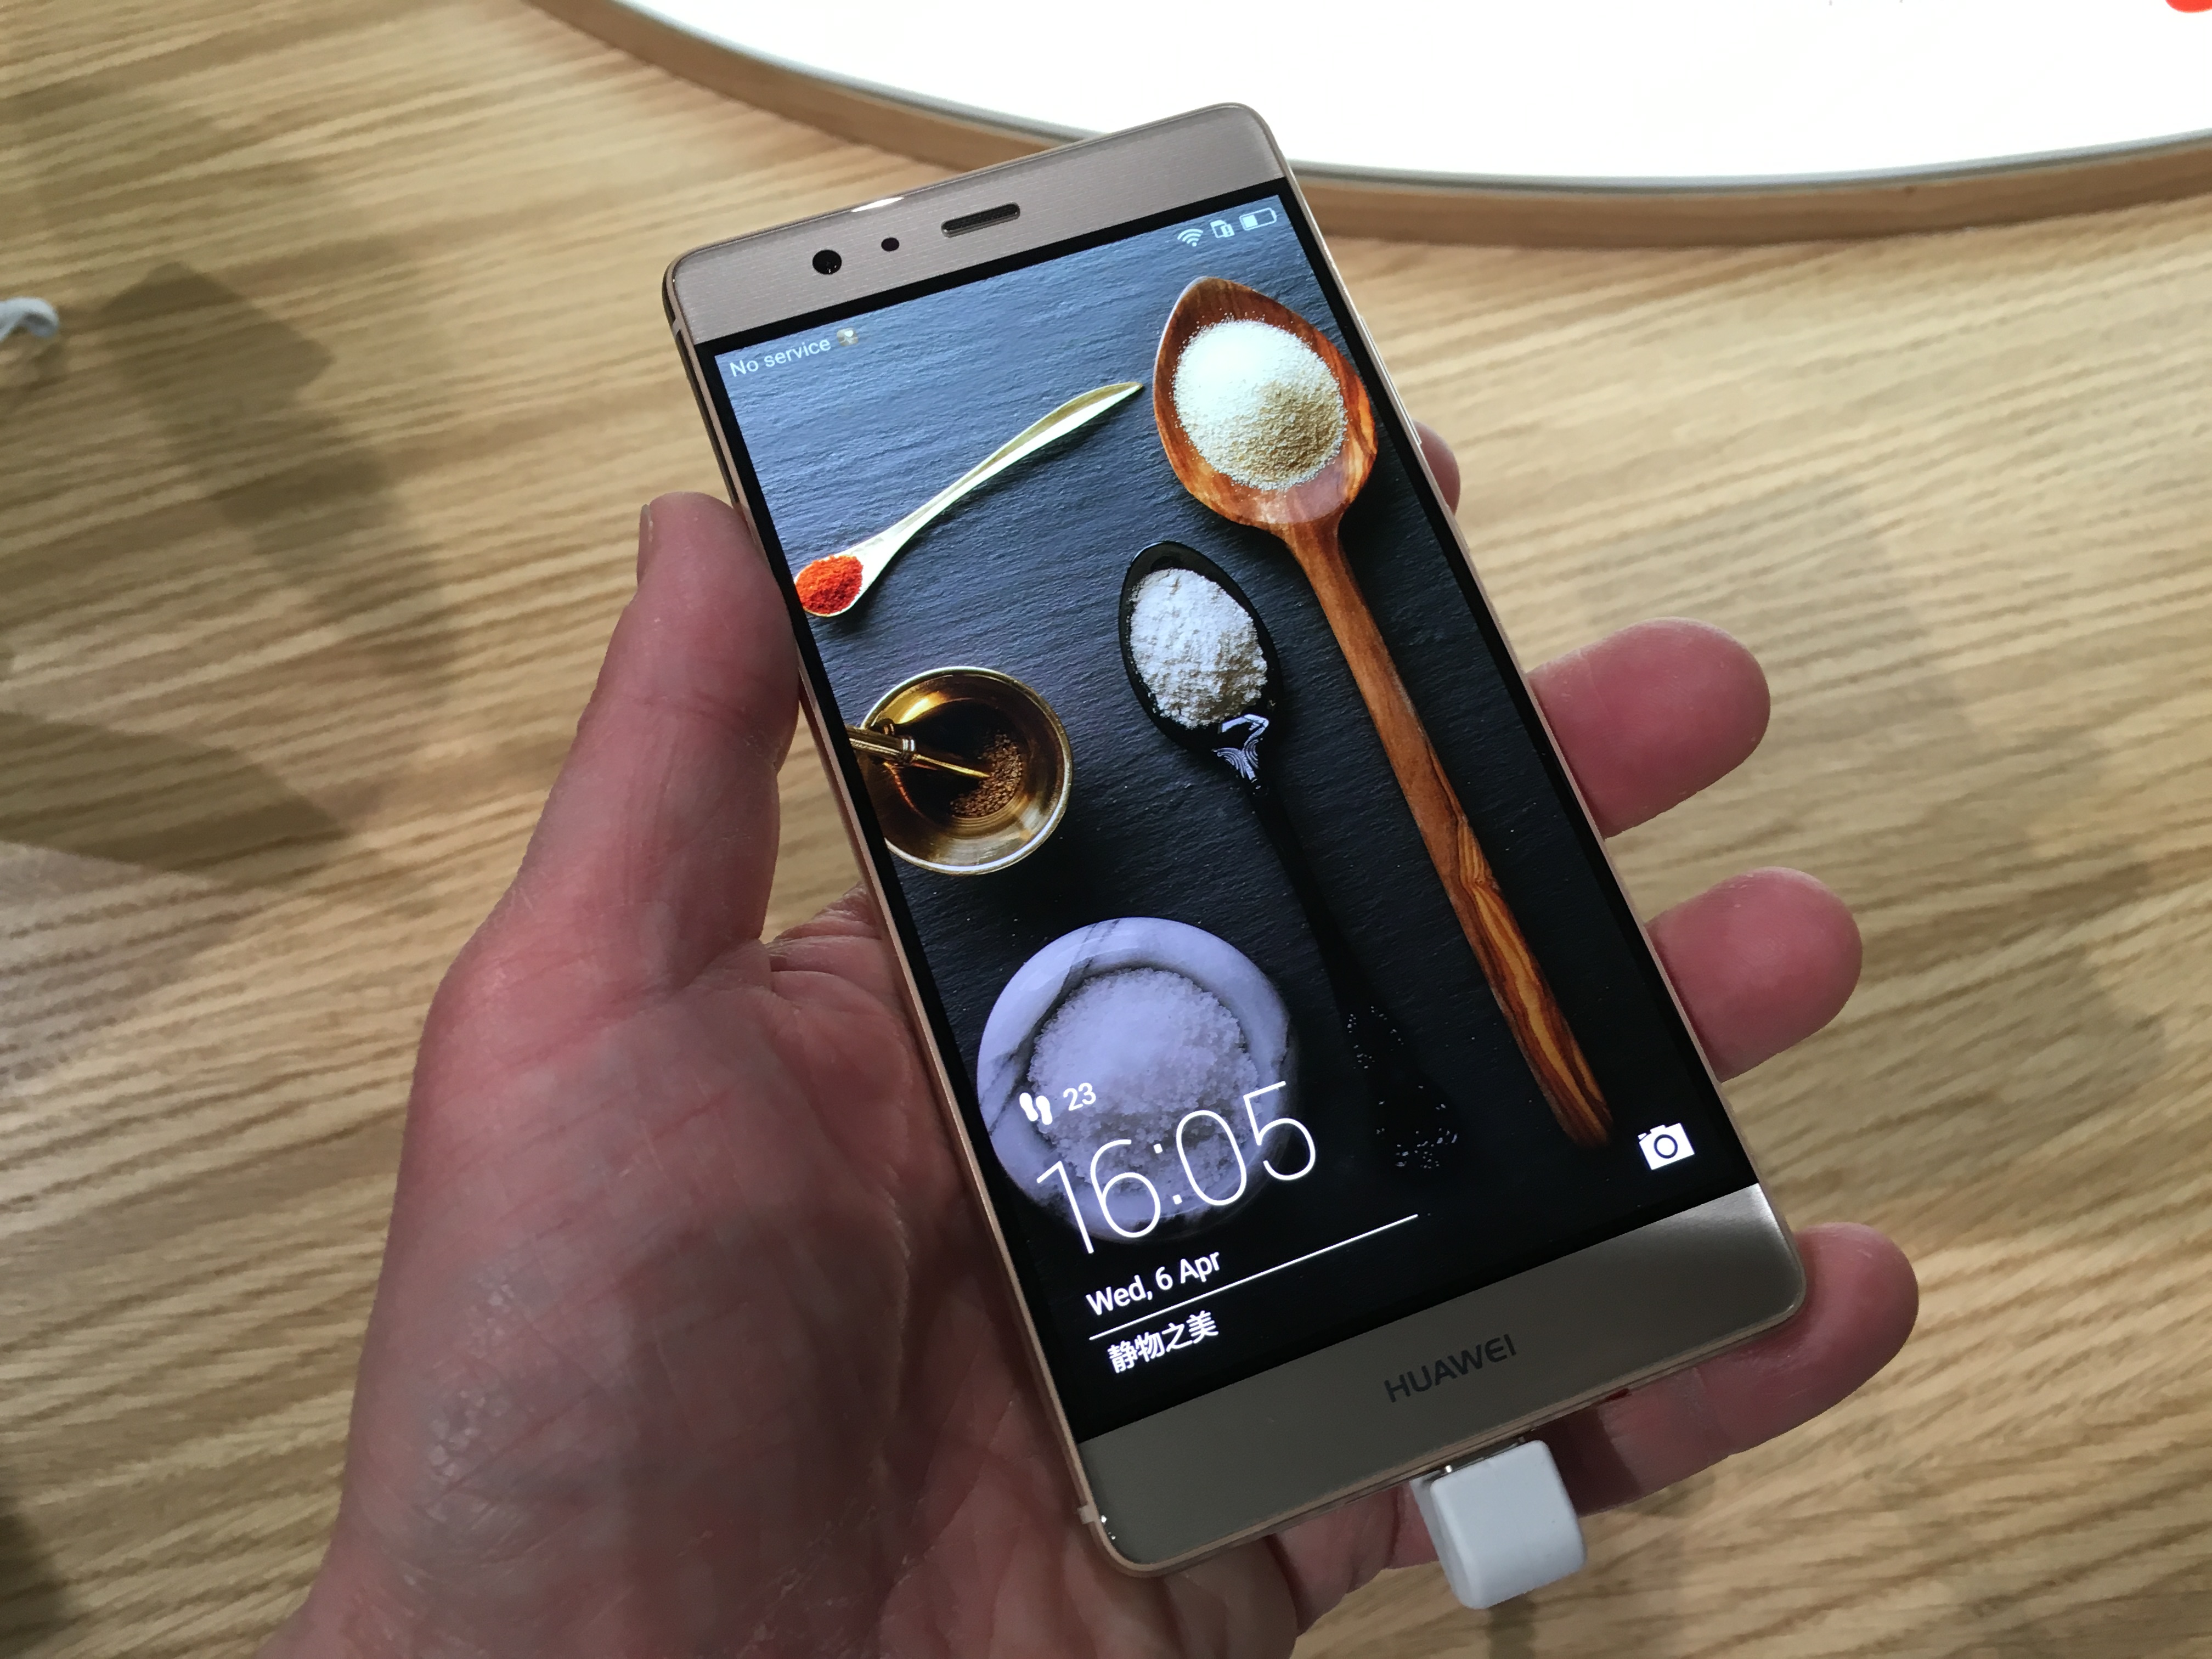
First, the difference between the two phones. The P9 has a 5.2″ 1080 display with a 3000 mAh battery. The P9 Plus has a larger 5.5″ “Press Touch” display with a larger 3400 mAh battery. Both have rapid charging tech which means you’ll received a five (on the P9) or six (on the P9 Plus) hour talk-time from a quick 10 minute charge – via a USB-C connection by the way.


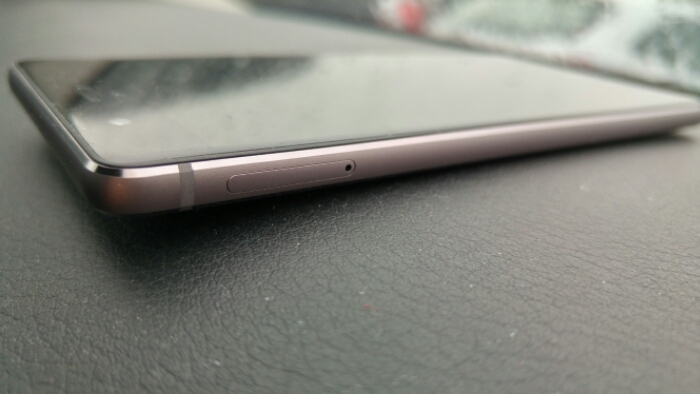
Huawei were keen to show off their strengths – the detail and quality of the finish, the super-secure “level 4” fingerprint sensor and a clever system for automatically determining which is the best WiFi hotspot to connect to.

As for pricing, the P9 will be cost you £449 for the 32GB model (3GB RAM) but you can put a microSD card in provided that you don’t mind giving up one of the two SIM slots. The P9 Plus will be available in the 4GB RAM / 74GB capacity version for £549. Expect to see them from April 16th.
The launch event, it has to be said, went on for quite some time. After two solid hours they brought on Superman (well, the actor who plays him) but by that stage people just wanted to get a good look at the thing. We’ve got quite a few snaps to enjoy, but first let’s concentrate on that camera. The rear shooters produce a square 12 megapixel image. If you want wide-screen then you’ll need to drop it to 9 megapixels. There’s an RGB and BW sensor, plus a laser-assisted focus. The upshot is that it becomes, according to Huawei, 200% more sensitive with 300% more detail.
Using it is relatively simple – you can just point and click without too much thought. You can also, if you swipe out from the right side of the camera app, go into the “Pro” mode. I did find this a little fiddly at first – the actual slider is right next to the camera and you have to ensure that your finger is right on the slider.

The camera, or should I say cameras, also offer a “Shallow depth of field mode” which is recommended if you’re taking shots of people or objects less than 2 metres away. This mode lets you fiddle about with the focus after and add a blur or wide aperture effect. You can also then add some special effects on top for good measure.

The other modes, which again I found a bit fiddly to select, include filters such as Sentimental, Impact, ND, Valencia, Blue, Halo, Nostalgia or back to normal.

Even through the train window as I travelled home, I managed to snap some rather nice images and you can adjust each effect – turning it up to the extreme or softening it out.

Then, purely by accident, I found that if you sweep up from the bottom of the camera app there’s a whole host of additional settings – beauty, beauty video, line painting, a watermark option, HDR, night shot, slow-mo (this was interesting to mess around with on the train) a panorama shot, monochrome and much more.


You can also adjust the focus manually and get proper “arty”.

However, I was late. The press event had gone on for quite some time and I’d completely missed my train. Luckily I managed to sneak out with a brand new Huawei P9 and, as I was in the rather beautiful Battersea Park, I snapped a few pictures.
You can see just how randomly I took these. Some aren’t framed correctly, some are wonky and some were taken whilst I was walking. A lot of these were taken on the normal “photo” mode which, let’s face it, a lot of us are going to be using on a day-to-day basis.

Then, as a test, I started messing about with the “Pro” mode and I cranked up the ISO setting up to full (it goes up to 3200).
By the way, I should just mention that you can’t tweak these “Pro” settings if you’re in HDR mode or similar – they appear to be only available when you’re in the “Photo” mode. In order to test the zoom, I also zoomed in on this fountain and, I have to say, considering I was only mucking around (and I have no real idea what the “Pro” settings do). It came out beautifully..

Bear in mind that, in the shot above, I’d zoomed in quite a bit. I was a good 30 metres away from the water at the time. It’s a bit fragmented because of the zooming, but still.. I think it’s come out really well.
OK, here’s some more examples. First, a low-light shot. Most people aren’t going to twiddle around and change the settings when they’re trying to quickly take a phone, so the first image has been taken with the “standard” photo mode. No special settings – just the mode you get out of the box..

Standard shot mode
Now that same shot, but with HDR enabled…

HDR On
And now “night mode”. With this setting you’ll need to hold the phone really still, which I obviously didn’t manage to do looking at this. To be honest, it’s not a great deal different to the standard shot, which is good for me..

Night shot mode
Next, some more shots from around Battersea Park..


Here’s some further shots…


Now here’s some shots that I took with the filters and various effects that are available through the camera app. You can adjust tome of these, turning them up to “max” or perhaps not.


Overall it seems to be producing some pretty smart images. I’ll be taking a few more over the coming days and we’ll have a full review up and online very soon, but please do let me know if you have any questions.